
Raspbian is the Debian-based operating system for the Raspberry Pi. Raspbian comes in different flavours namely, Wheezy, Jessie, Stretch and Buster.
The current version of Raspbian available for the Raspberry Pi is Bullseye.
Bullseye itself has three versions. Bullseye with desktop and recommended software, Bullseye with desktop and Buster Lite.
So, let’s proceed with the installation.
Download Raspbian
Choose your preferred version of Raspbian Bullseye and download it from here.
Download the Disk Imaging Tool
Choose your preferred Disk Imaging Tool and download it. I am going to be using balenaEtcher for this tutorial. It is available for Windows, macOS and Linux.
Flash the Image
It’s time to flash your preferred Raspbian Image to your SD Card. Make sure to extract the downloaded zip file first. The extracted file is our required .img file that we’ll be flashing to the SD Card.
Insert your SD Card into your SD Card reader and plug it into your computer. Open balenaEtcher and select your downloaded image from it’s location.
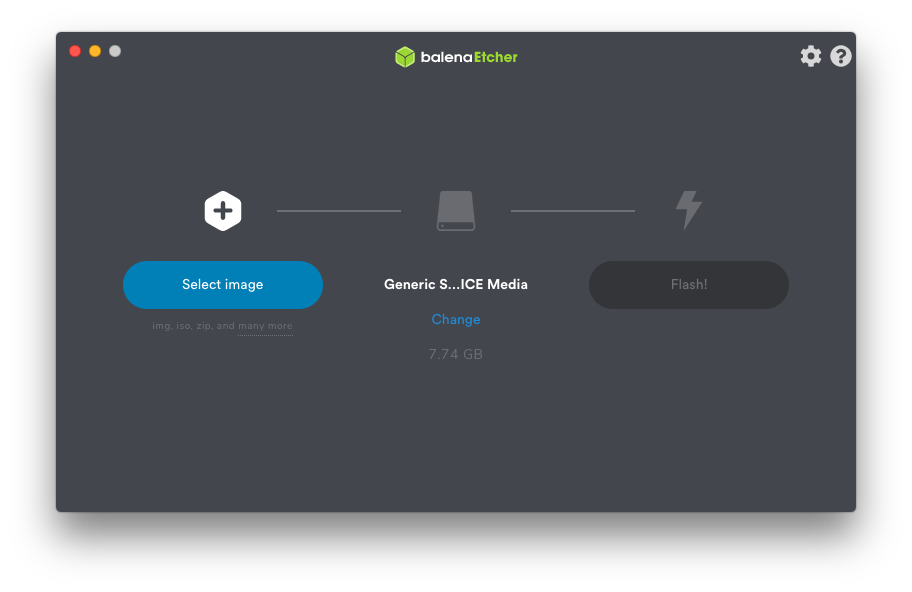
The target device is correctly selected by default in most cases but you can choose your target device manually just in case.
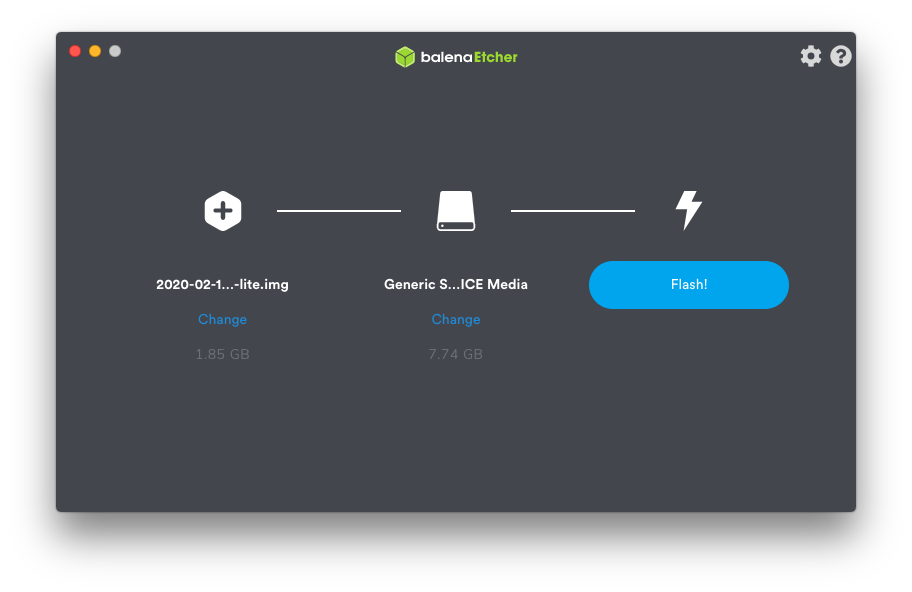
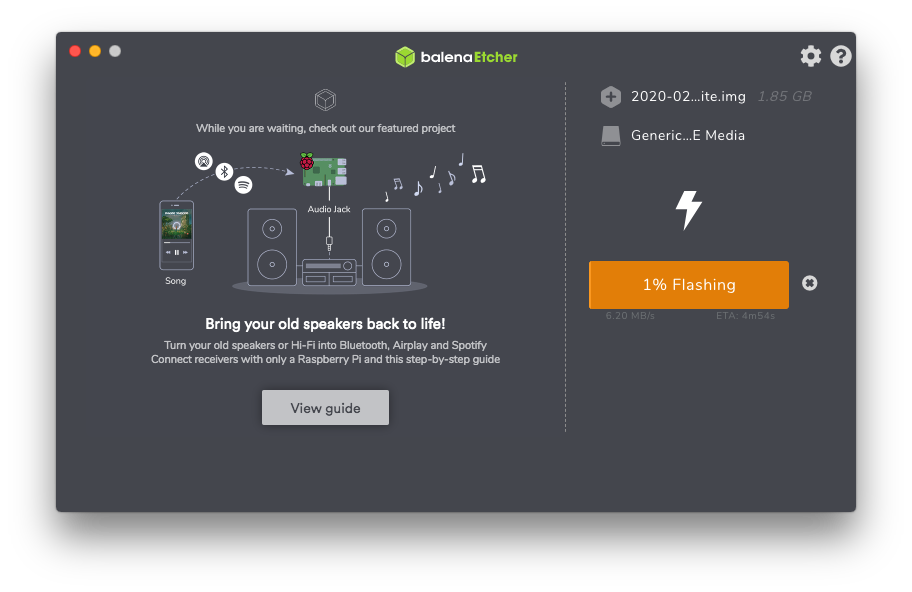
Click on Flash and let balenaEtcher do its thing.
That’s it. You have successfully flashed Raspbian on your SD Card.
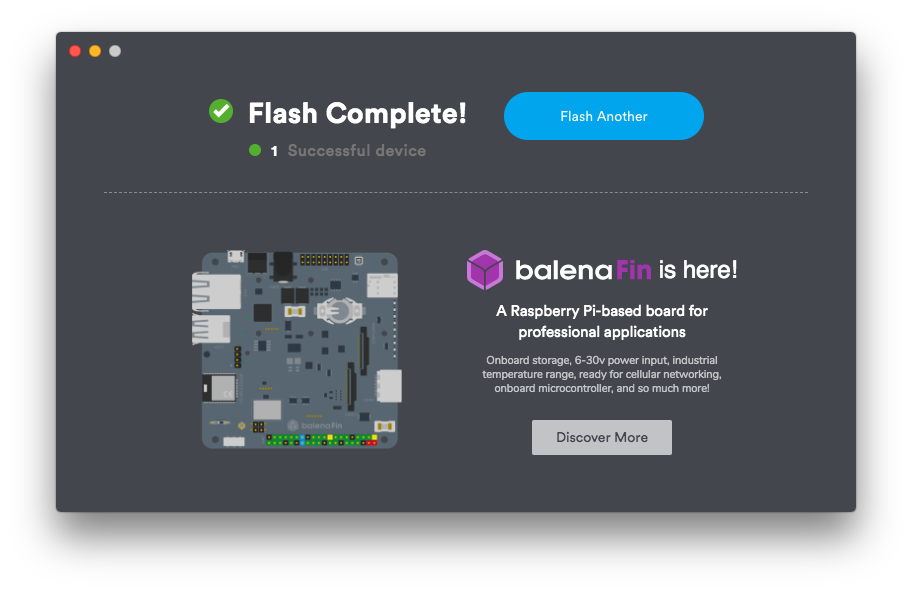
Now, you can insert the SD Card into your Raspberry Pi 4 and power it up and it should boot up normally and you’ll be greeted with a Welcome Screen.
If you wish to just SSH into your Pi without using a separate monitor, keyboard and stuff, you’ll need to enable SSH on the Pi first.
In recent versions of Raspbian, SSH is turned off by default. Learn how to enable SSH on the Pi without using any other peripherals.